 |
Art Tech/8th grade |
|
|
||
| I
would like to give many thanks to the websites I
visited to get curriculum ideas. I'm sure I will adapt the lessons further
as the students and I get into them, and come up with some of our own
ideas for lessons. There are many lessons based off of projects developed
by Harold Olejarz and Carolyn Roberts.
Resources: http://www.vvm.com/~tgibbons/sketchbook/tate.htm http://www.olejarz.com/arted/perspective/index.html http://www.olejarz.com/arted/index.html http://cyber.lenoir.k12.nc.us/khs/croberts/roberts2.html
|
|
|
|
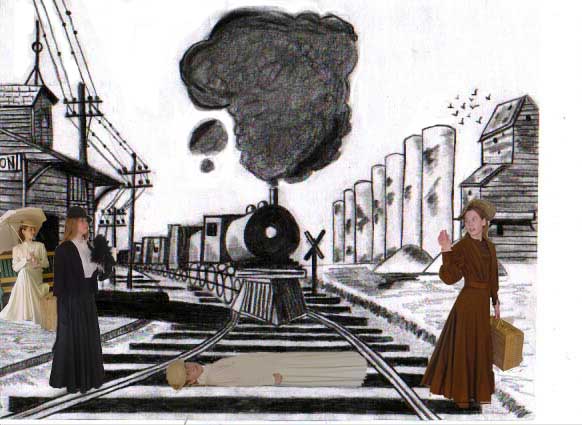
Surrealistic Environments Welcome to our first big project. We studied perspective and surrealism. This lesson is in four steps. First, we studied one-point perspective and drew a dream bedroom or a western scene. Second, we learned how to scan our pictures. Third, we learned how to use a digital camera ,compose a picture , and consider light contrast. Step four, using Adobe Photoshop Elements, we inserted our portraits into our scanned in bedrooms. We learned a lot about perspective and proportion. We also learned a lot about Photoshop Elements, how to crop, use the lasso and cut and paste. |
|
|
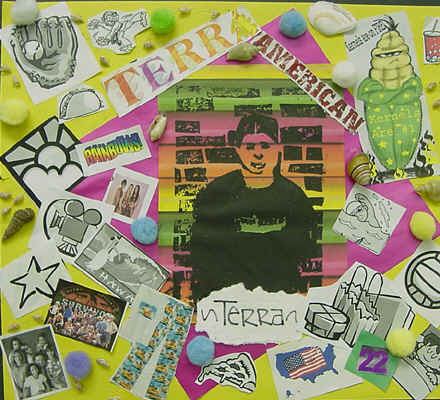
Self-Portrait In this project the students did a printmaking project and a collage. First the students were taught photo composition and lighting. They took pictures of each other with a digital camera. Second, in Photoshop, they manipulated the contrast of their portraits, flipped the picture in reverse, and printed them out the size of the linoleum. Third, we filled out an interest survey and then hunted for pictures to show those interests. We looked on the internet, clip art and scanned pictures. Fourth, we viewed collage sites and did a worksheet on composition. Fifth, we printed out our pictures and arranged them. The last steps included, carving out the negative space in the portraits, printing them and finally gluing it all down. |
|
|
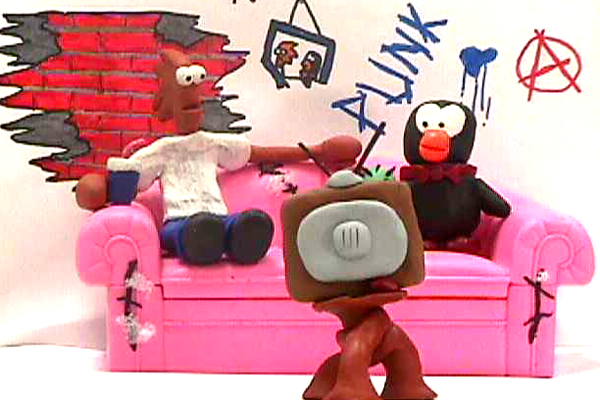
Clay Animation Art Tells a story. Good art can be critiqued using some of the 6+1 writing traits. The main objective here was to create a visual story without words. In this unit we studied the history and process of clay animation. The class took one day out and watched a Wallace and Grommit movie. Working in groups of three, we then developed our plot with the help of a storyboard. After the storyboard was filled out we split up jobs in our groups. One or two of us designed our characters out of clay and someone designed a setting. We all took turns photographing and rearranging the clay characters. The next step took us to the lab where we edited and animated our claymation story. |
|
|
|
 |
| Clay Characters Beans and Clarence developed by William and Trevor. |
Watch the animation |
Betty Crocker and Martha Stewart clay figures developed by Tara, Justine and Andrea. |
|
Click here to view the list of informational internet sites on Clay animation click here for a worksheet on clay animation click here to view more student examples
|
|
Projects using PC Paint
|
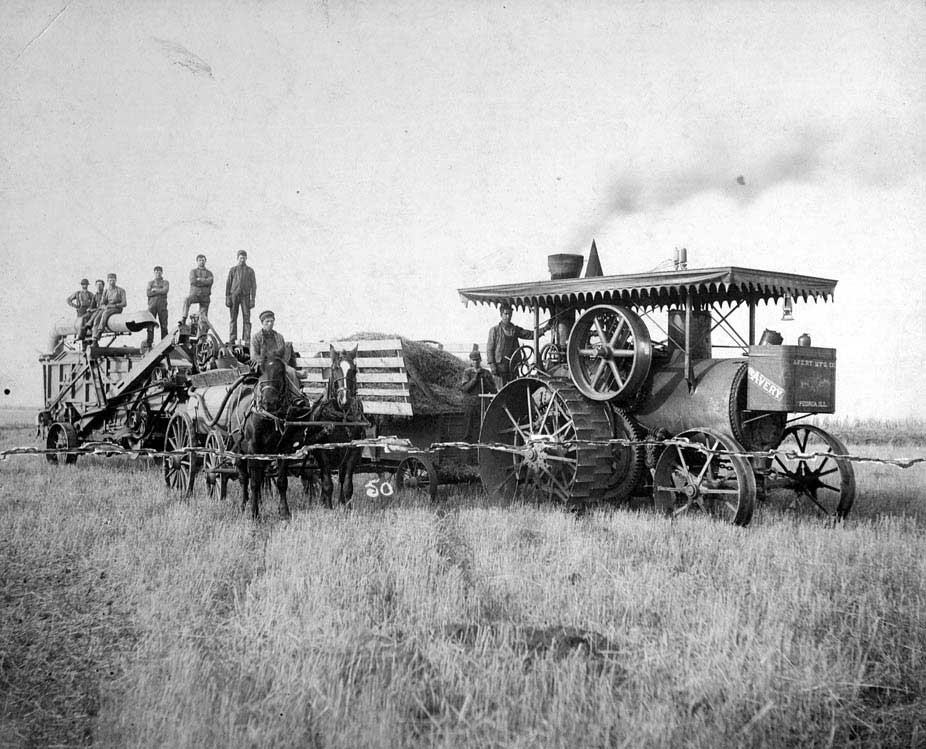
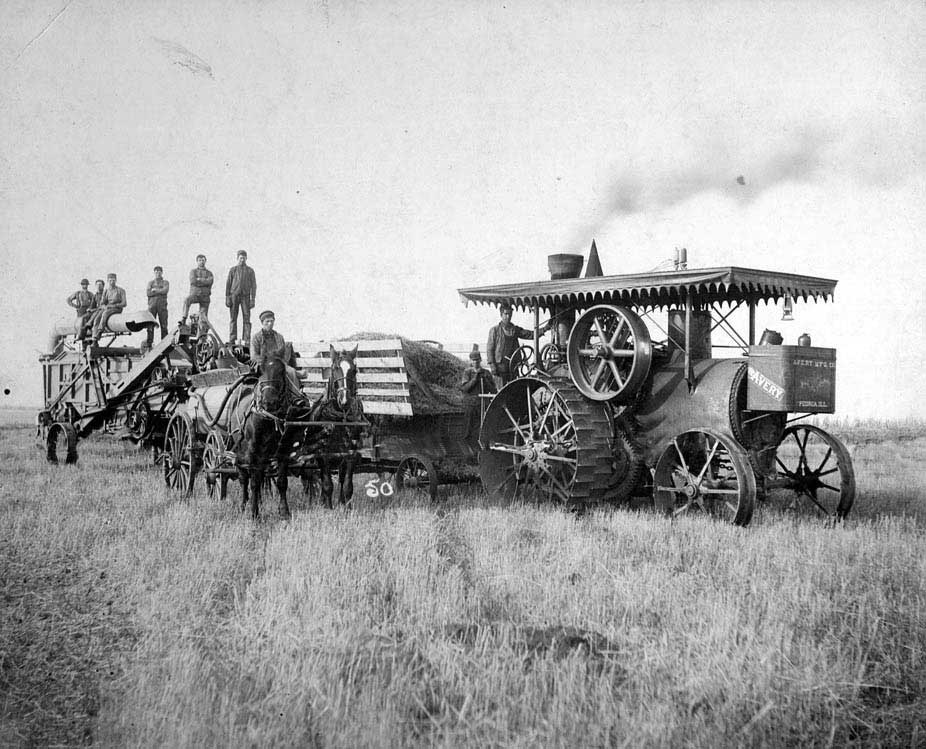
| Photo Shop Fix
This is a photograph with a rip through the middle of it. The students use the clone tool to fix the photo. You can see the fixed example to the far right and the original on the left. |
 |
 |
|
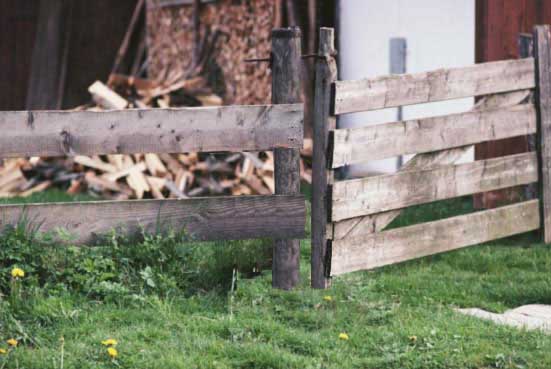
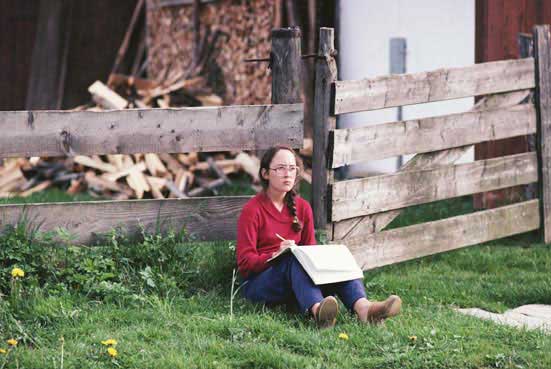
Photo Shop Elements Fence Fix I got this lesson off of the Adobe site. The students are told that we want to use the photograph for a pamphlet but do not want the girl in the photo. The students use the following tools: clone stamp, cutting , pasting, move, lasso, blur and eyedropper, they also work with layers. The picture on the left is the original and the one below it is a students with the girl cut out and the background fixed.
|